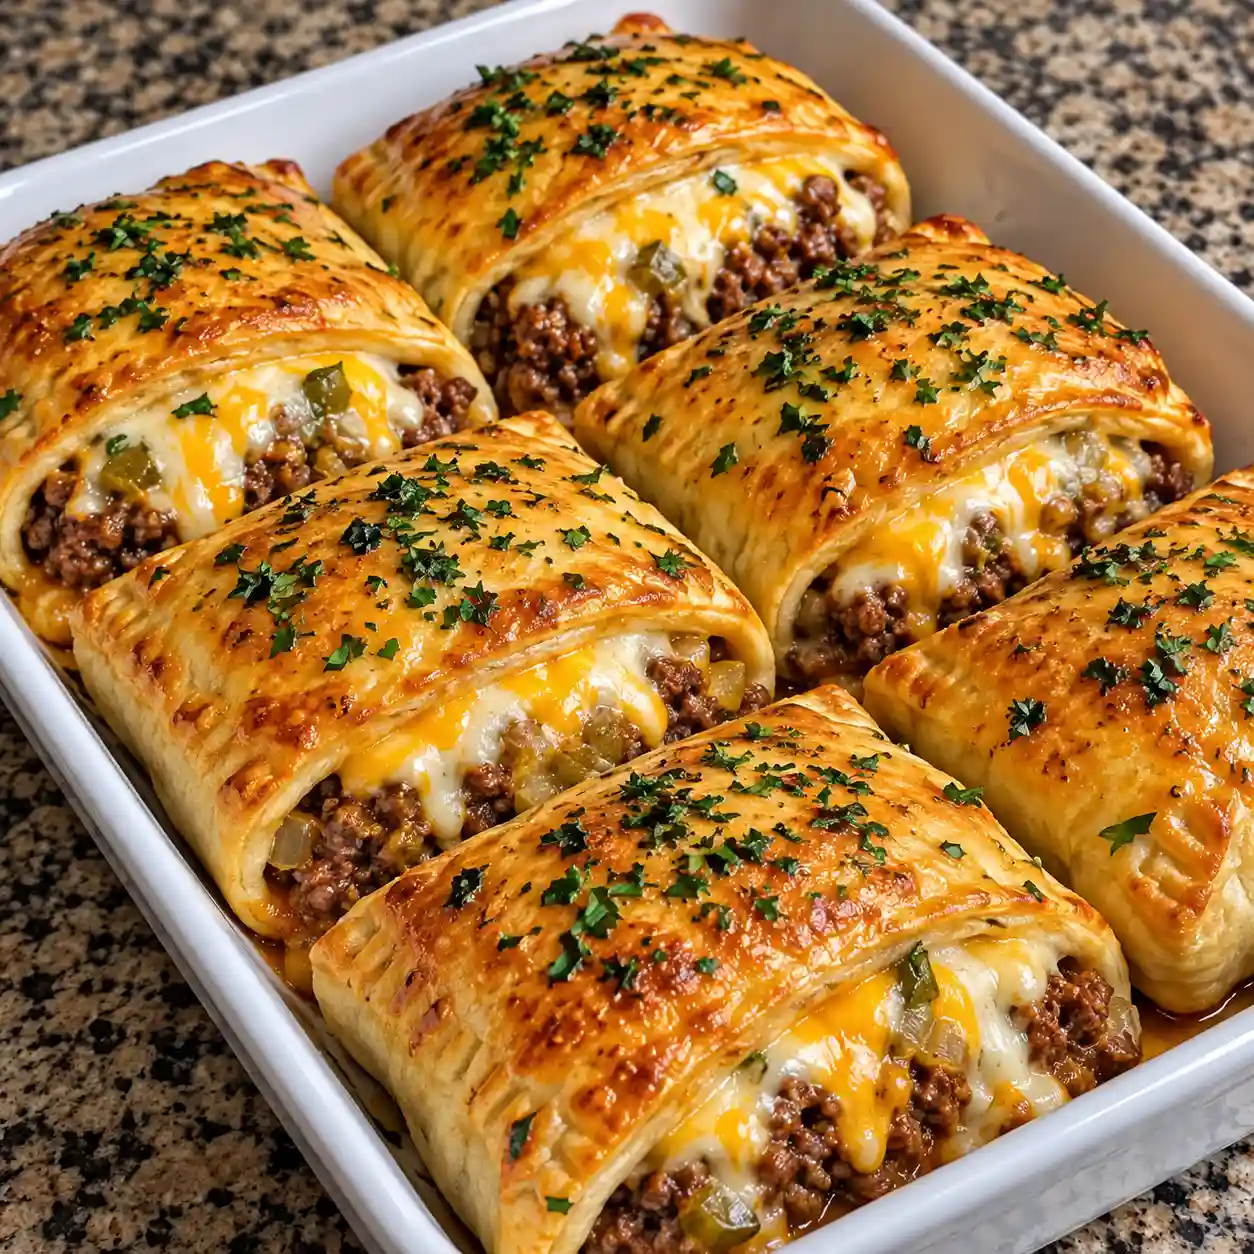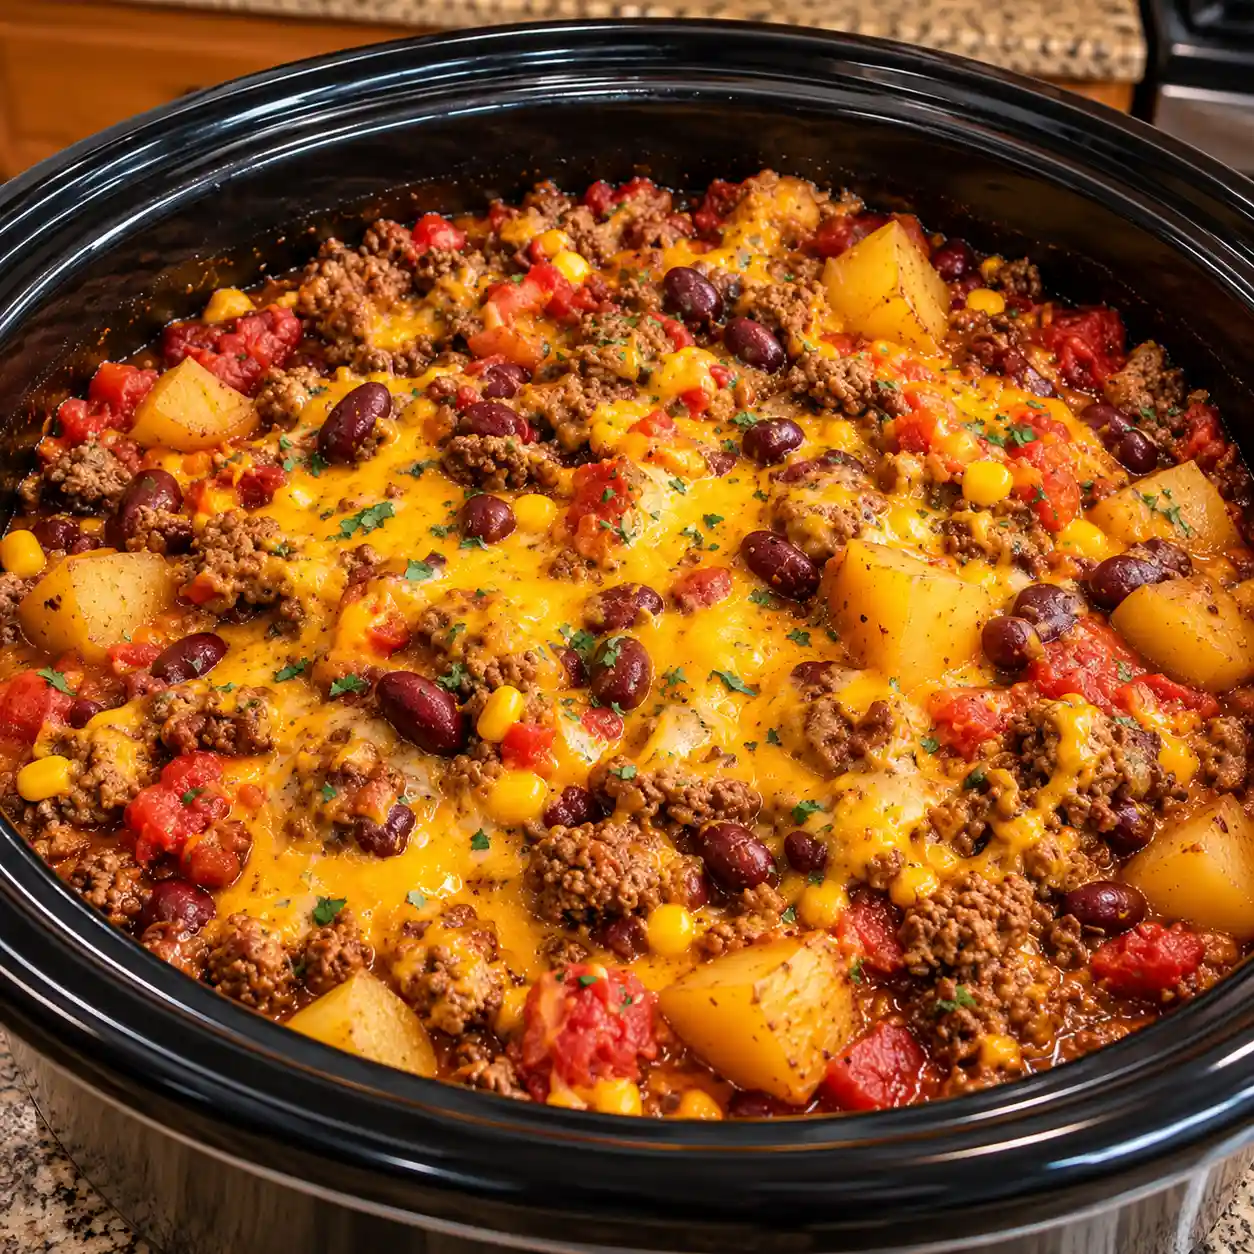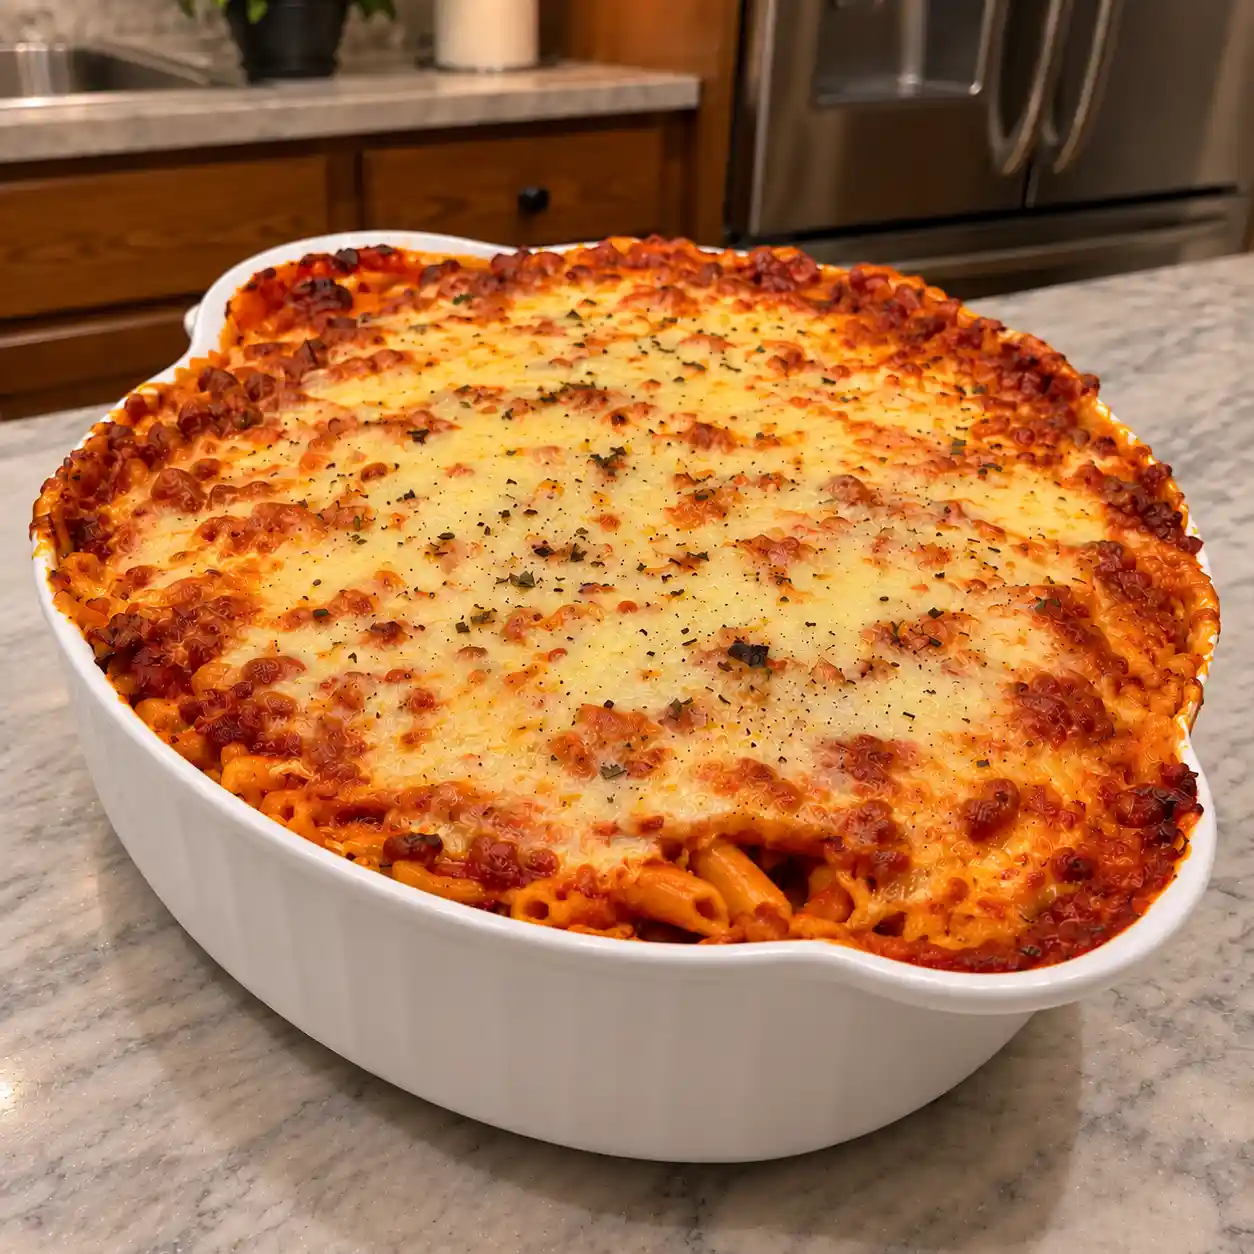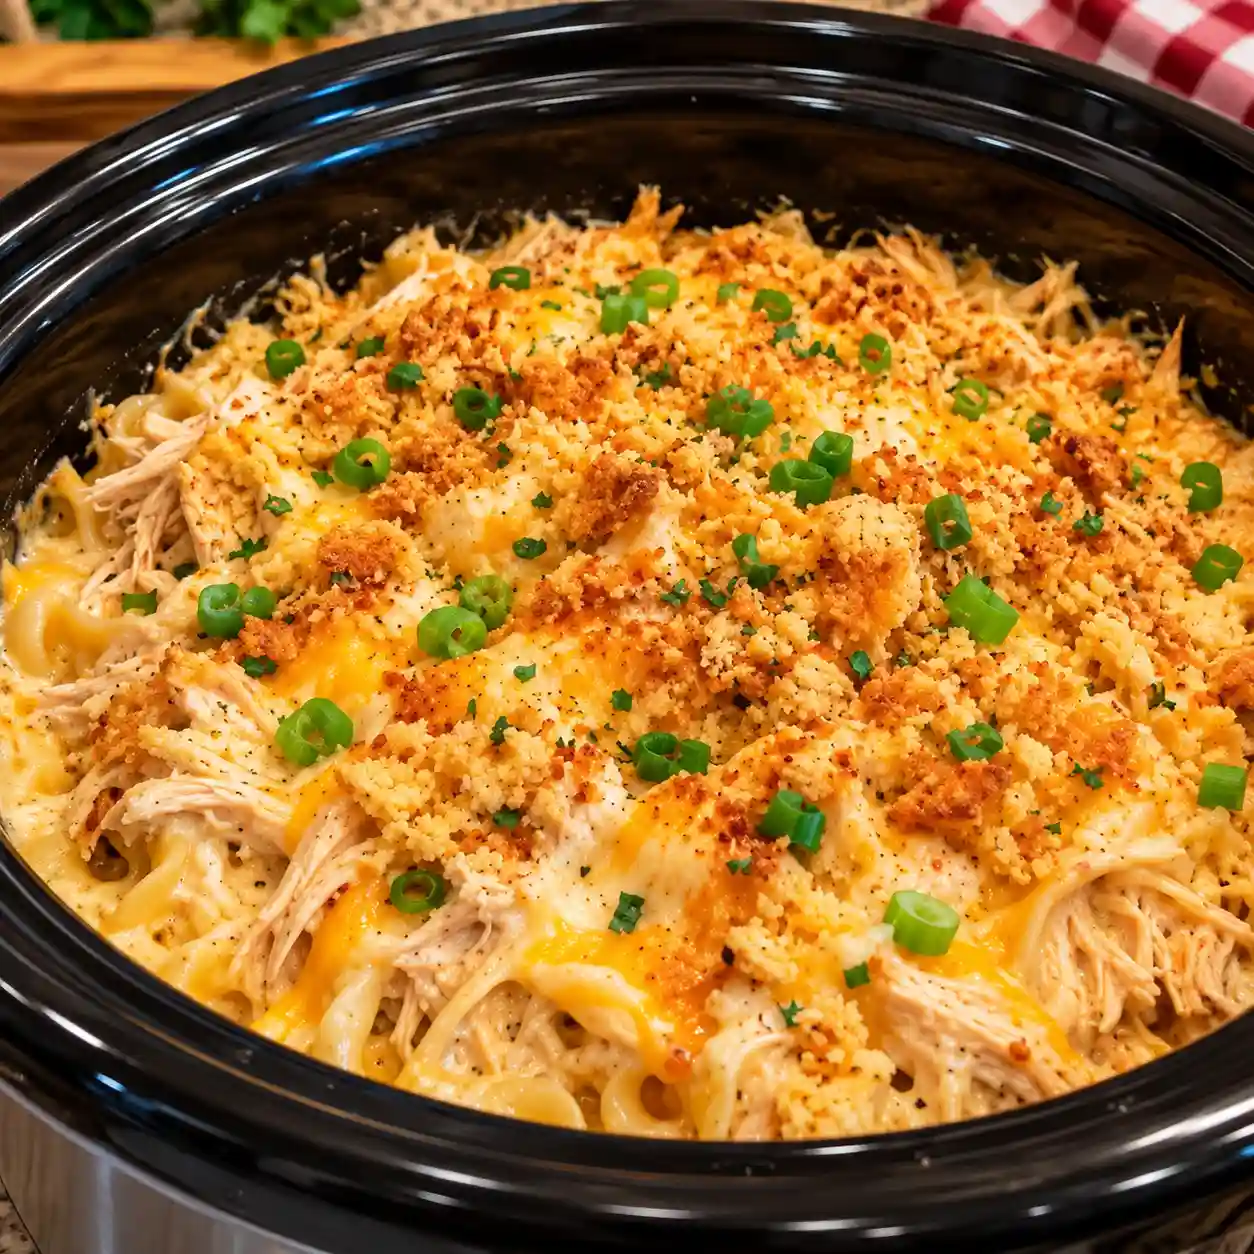
Garlic Butter Chicken and Rice Casserole
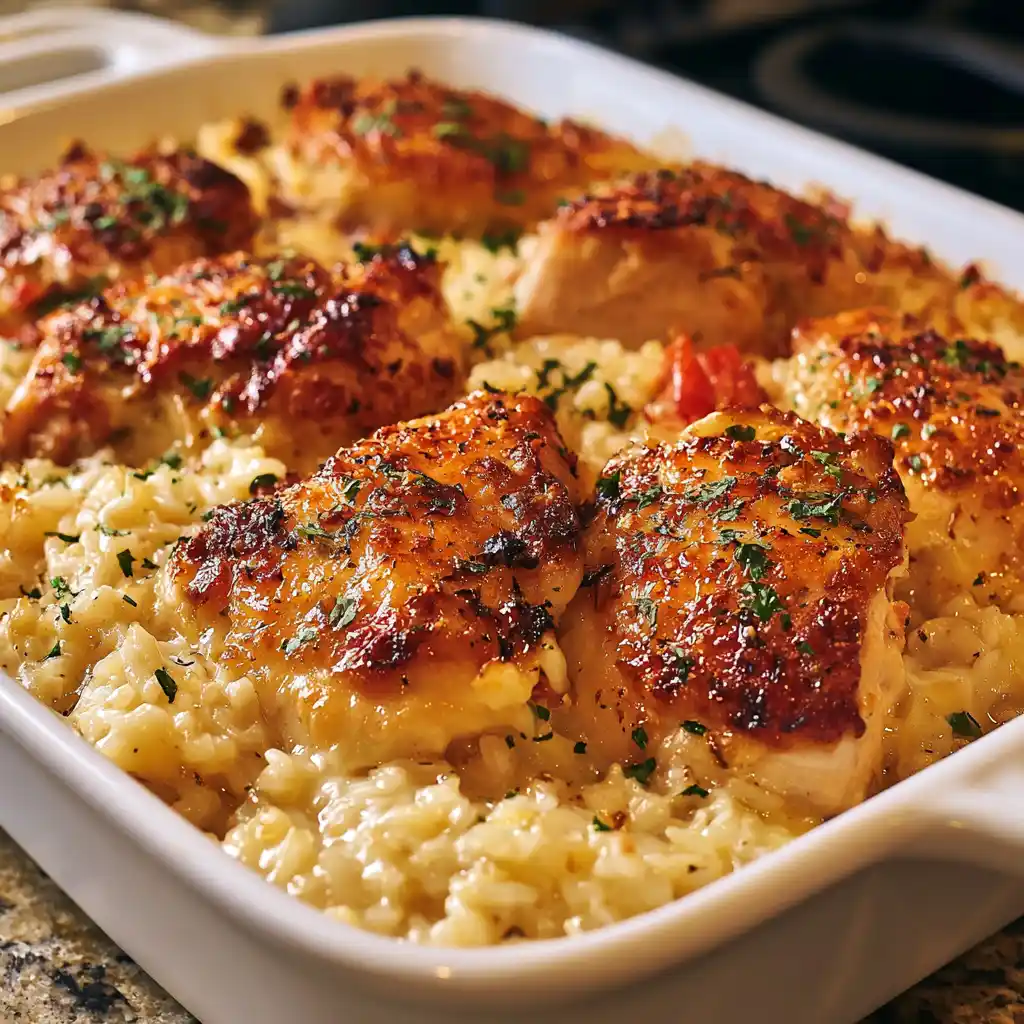
This Garlic Butter Chicken and Rice Casserole is a comforting, flavorful one-dish dinner made with tender chicken, fluffy long-grain rice, garlic butter, onion, herbs, and melted cheese. Everything bakes together in one casserole dish, making this an easy family meal with minimal cleanup.
The chicken is seasoned with garlic, butter, thyme, and paprika before being baked over rice and savory chicken broth. The rice absorbs all those delicious flavors as it cooks, while a layer of melted cheese adds a golden, bubbly finish.
It’s perfect for busy weeknight dinners, family meals, cozy Sunday dinners, potlucks, and easy comfort food. If you love simple chicken and rice recipes with plenty of savory flavor, this casserole is a great choice.
Why Everyone Loves Garlic Butter Chicken and Rice Casserole
- Tender chicken: Chicken thighs or breasts bake directly over the flavorful rice.
- Garlic butter flavor: Melted butter, fresh garlic, thyme, and paprika create a rich savory seasoning.
- One-dish dinner: The chicken and rice cook together in one baking dish for easy cleanup.
- Cheesy topping: Mozzarella or cheddar creates a golden, bubbly finish.
- Simple ingredients: This recipe uses everyday pantry and refrigerator staples.
- Family-friendly: The mild, comforting flavors make it an easy dinner everyone can enjoy.
Ingredients Overview
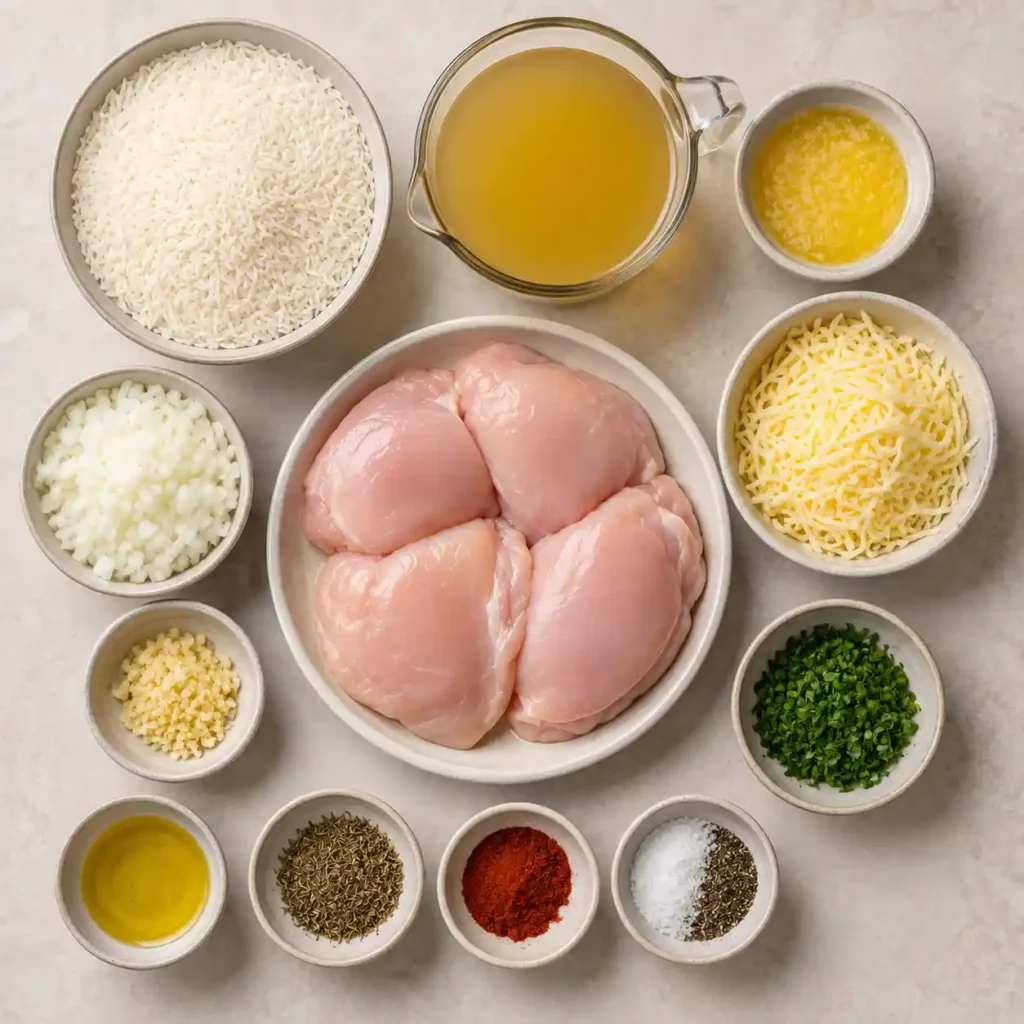
- Boneless, skinless chicken thighs or breasts – Provide the main protein and become tender while baking over the rice.
- Long-grain white rice – Absorbs the chicken broth and garlic butter while cooking into a flavorful, fluffy side.
- Chicken broth – Provides moisture and savory flavor for the rice.
- Unsalted butter – Creates the rich garlic butter sauce and adds moisture to the casserole.
- Garlic – Gives the chicken and rice a bold, aromatic flavor.
- Onion – Adds savory sweetness and extra flavor to the rice.
- Dried thyme – Brings a warm herbal note that pairs beautifully with chicken.
- Paprika – Adds mild spice, color, and depth of flavor.
- Salt and black pepper – Season the chicken, rice, and garlic butter sauce.
- Mozzarella or cheddar cheese – Creates the optional golden, cheesy topping.
- Fresh parsley or chives – Add freshness and color when serving.
- Olive oil or butter – Greases the baking dish and helps prevent sticking.
Variations
- Garlic Butter Chicken Thigh Casserole – Use boneless chicken thighs for an especially juicy and flavorful result.
- Cheesy Chicken and Rice – Use mozzarella or cheddar generously over the casserole for a richer cheesy topping.
- Chicken and Vegetable Rice Casserole – Add peas, carrots, broccoli, or spinach for extra vegetables.
- Herb Garlic Chicken Casserole – Add fresh parsley, rosemary, or additional thyme for more herbal flavor.
- Spicy Garlic Butter Chicken – Add red pepper flakes or a pinch of cayenne pepper to the garlic butter mixture.
- Creamy Chicken and Rice – Stir a small amount of cream cheese or heavy cream into the rice mixture for a creamier casserole.
How to Make Garlic Butter Chicken and Rice Casserole
1. Preheat the Oven
Preheat your oven to 375°F (190°C).
Grease a 9×13-inch baking dish with olive oil or butter to prevent the rice and chicken from sticking.
Make sure the bottom and sides are lightly coated.
2. Make the Garlic Butter Sauce
In a small bowl, combine the melted butter, minced garlic, dried thyme, paprika, salt, and black pepper.
Stir well until the seasonings are evenly distributed throughout the melted butter.
Set the garlic butter mixture aside while preparing the chicken and rice.
3. Sear the Chicken
Heat a skillet over medium-high heat.
Add a small amount of olive oil or butter.
Place the chicken thighs or breasts in the skillet and sear for approximately 2–3 minutes per side, or until golden brown on the outside.
The chicken does not need to be completely cooked at this stage because it will finish cooking in the oven.
This step is optional, but browning the chicken adds extra flavor to the finished casserole.
4. Prepare the Rice
Spread the rinsed long-grain white rice evenly across the bottom of the prepared baking dish.
Sprinkle the chopped onion over the rice.
Pour the chicken broth evenly over the rice.
Make sure the rice is distributed in an even layer so it cooks consistently.
5. Add the Chicken and Garlic Butter
Place the seared chicken pieces on top of the rice.
Pour the prepared garlic butter mixture evenly over the chicken and rice.
Try to distribute the garlic and seasonings across the entire casserole so every bite gets plenty of flavor.
6. Cover and Bake
Cover the baking dish tightly with aluminum foil.
Place it in the preheated 375°F (190°C) oven.
Bake for approximately 40–45 minutes, or until the rice is tender and the chicken is completely cooked through.
The chicken should reach an internal temperature of 165°F (74°C).
Keep the dish covered during this stage to trap the steam needed to cook the rice.
7. Add the Cheese
Carefully remove the aluminum foil.
Sprinkle the shredded mozzarella or cheddar cheese evenly over the top of the casserole.
Return the uncovered casserole to the oven.
Broil for approximately 3–5 minutes, or until the cheese is melted, bubbly, and lightly golden.
Watch the casserole closely during broiling because the cheese can brown quickly.
8. Rest Before Serving
Remove the casserole from the oven and allow it to rest for approximately 5 minutes.
This gives the rice time to finish absorbing moisture and allows the chicken juices to settle.
Garnish with freshly chopped parsley or chives before serving.
Pro Tips and Cooking Secrets
Use chicken thighs for extra juiciness. Boneless, skinless thighs tend to stay especially moist during baking, while chicken breasts provide a leaner option.
Rinse the rice first. Rinsing the long-grain rice helps remove excess surface starch and can help produce a better texture.
Keep the casserole tightly covered. The foil traps steam and moisture, which is essential for properly cooking the rice.
Let it rest before serving. A five-minute rest allows the rice to finish absorbing moisture and helps the casserole come together before serving.
Serving Suggestions
- Serve with a green salad – A crisp salad adds freshness and balances the rich garlic butter flavors.
- Add steamed vegetables – Broccoli, green beans, or carrots make an easy side dish.
- Serve with garlic bread – Warm garlic bread is perfect alongside the buttery chicken and rice.
- Garnish with fresh herbs – Parsley or chives add a bright finishing touch to every serving.
How to Store Garlic Butter Chicken and Rice Casserole
Store leftover casserole in an airtight container in the refrigerator for up to 3 days.
Allow the casserole to cool before transferring it to a storage container.
When reheating, cover the chicken and rice and add a small splash of chicken broth to help keep the rice moist.
Can You Freeze Garlic Butter Chicken and Rice Casserole?
The provided recipe does not specify freezing instructions, so a specific freezer storage time should not be added without testing the recipe.
For the best texture, refrigerate leftovers and reheat them gently.
Make-Ahead Tips
You can prepare the garlic butter mixture and season the chicken ahead of time.
For the best results, assemble and bake the casserole close to serving time so the rice cooks properly and maintains its texture.
Garlic Butter Chicken and Rice Casserole FAQs
Can I use chicken thighs instead of chicken breasts?
Yes. Chicken thighs are an excellent choice and the chef’s note specifically recommends boneless, skinless thighs for extra juiciness.
Can I add vegetables to the casserole?
Yes. The recipe notes that you can add vegetables such as peas, carrots, or spinach for additional color and nutrition.
Do I have to sear the chicken first?
No. Searing is optional. It adds extra browning and flavor, but the chicken can be placed directly over the rice before baking.
How do I know when the chicken is done?
The chicken should reach an internal temperature of 165°F (74°C) and should be fully cooked through.
Why does the casserole need to be covered?
Covering the casserole traps steam inside the baking dish, which helps the rice cook properly and prevents it from becoming dry.
Can I use mozzarella instead of cheddar?
Yes. The recipe allows either shredded mozzarella or cheddar cheese for the topping.
How long can I store Garlic Butter Chicken and Rice Casserole?
According to the provided recipe, leftovers can be stored in an airtight container in the refrigerator for up to 3 days.
How can I keep leftover rice moist?
Reheat the casserole covered and add a small splash of chicken broth before reheating. This helps restore moisture to the rice.
Garlic Butter Chicken and Rice Casserole

Equipment
- 9×13-inch baking dish
- small bowl
- skillet
- aluminum foil
Ingredients
- 4 boneless, skinless chicken thighs or breasts
- 1 1/2 cup long-grain white rice, rinsed
- 3 cup chicken broth, low sodium preferred
- 4 tbsp unsalted butter, melted
- 5 clove garlic, minced
- 1 medium onion, finely chopped
- 1 tsp dried thyme
- 1 tsp paprika
- salt and black pepper, to taste
- 1 cup shredded mozzarella or cheddar cheese, optional
- fresh parsley or chives, chopped, for garnish
- olive oil or butter, for greasing the baking dish
Instructions
- Preheat your oven to 375°F (190°C). Grease a 9×13 inch baking dish with olive oil or butter to prevent sticking.
- In a small bowl, combine melted butter, minced garlic, dried thyme, paprika, salt, and pepper. Mix well to blend the flavors.
- Heat a skillet over medium-high heat. Add a bit of oil or butter and sear the chicken thighs or breasts for 2–3 minutes per side until golden brown. This step adds flavor but can be skipped if short on time.
- Spread the rinsed rice evenly on the bottom of the greased baking dish. Pour the chicken broth evenly over the rice. Place the chicken pieces on top of the rice. Pour the garlic butter sauce evenly over the chicken and rice, ensuring everything is coated.
- Cover the baking dish tightly with aluminum foil. Bake in the preheated oven for 40–45 minutes until the rice is tender and the chicken is cooked through (internal temperature of 165°F or 74°C).
- Remove the foil and sprinkle shredded cheese evenly over the casserole. Return to the oven and broil for 3–5 minutes until the cheese melts and becomes golden and bubbly. Watch closely to avoid burning.
- Let the casserole rest for 5 minutes before serving. Garnish with freshly chopped parsley or chives for color and freshness.