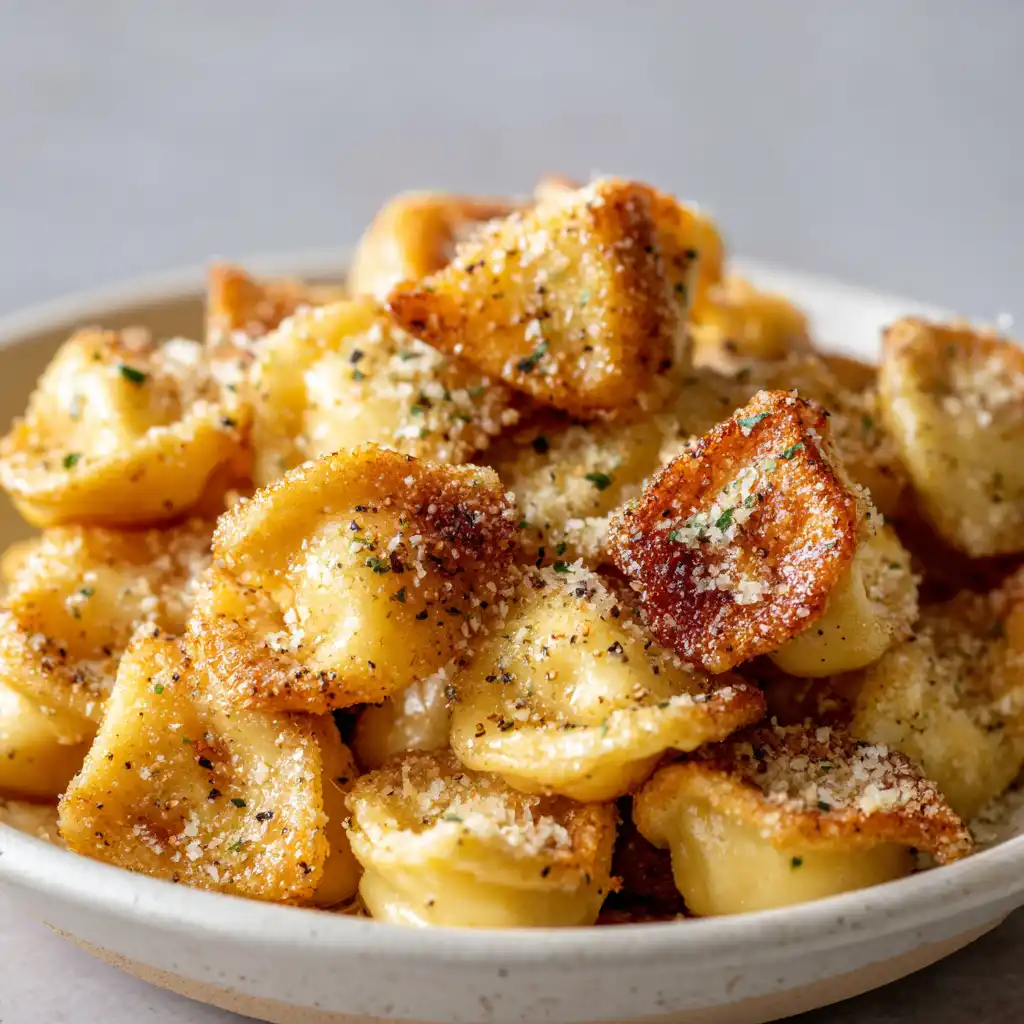
Oven Baked 3-Ingredient Cream Cheese Poppers

These Oven Baked 3-Ingredient Cream Cheese Poppers are an incredibly easy appetizer made with just refrigerated biscuit dough, creamy cream cheese, and shredded cheddar cheese. The result is a warm, cheesy, pull-apart treat with golden tops and deliciously gooey centers.
With only three main ingredients and minimal preparation, these cream cheese poppers are perfect for busy mornings, family snacks, game-day gatherings, parties, potlucks, or whenever you need a quick homemade appetizer.
The biscuit dough puffs up beautifully around the creamy cheese filling, while the cheddar melts into a golden, savory topping. Serve them warm straight from the oven for the best texture.
Why Everyone Loves Oven Baked 3-Ingredient Cream Cheese Poppers
- Only 3 ingredients: You need just biscuit dough, cream cheese, and cheddar cheese for this simple appetizer.
- Quick and easy: Minimal preparation makes these poppers perfect when you’re short on time.
- Creamy and cheesy: Soft cream cheese creates gooey centers while cheddar melts into golden tops.
- Pull-apart texture: The biscuit pieces bake together into an easy-to-share appetizer.
- Family-friendly: Mild cheddar makes these especially appealing to kids and picky eaters.
- Easy to customize: Add seasonings, different cheeses, bacon, or ham to create your own variation.
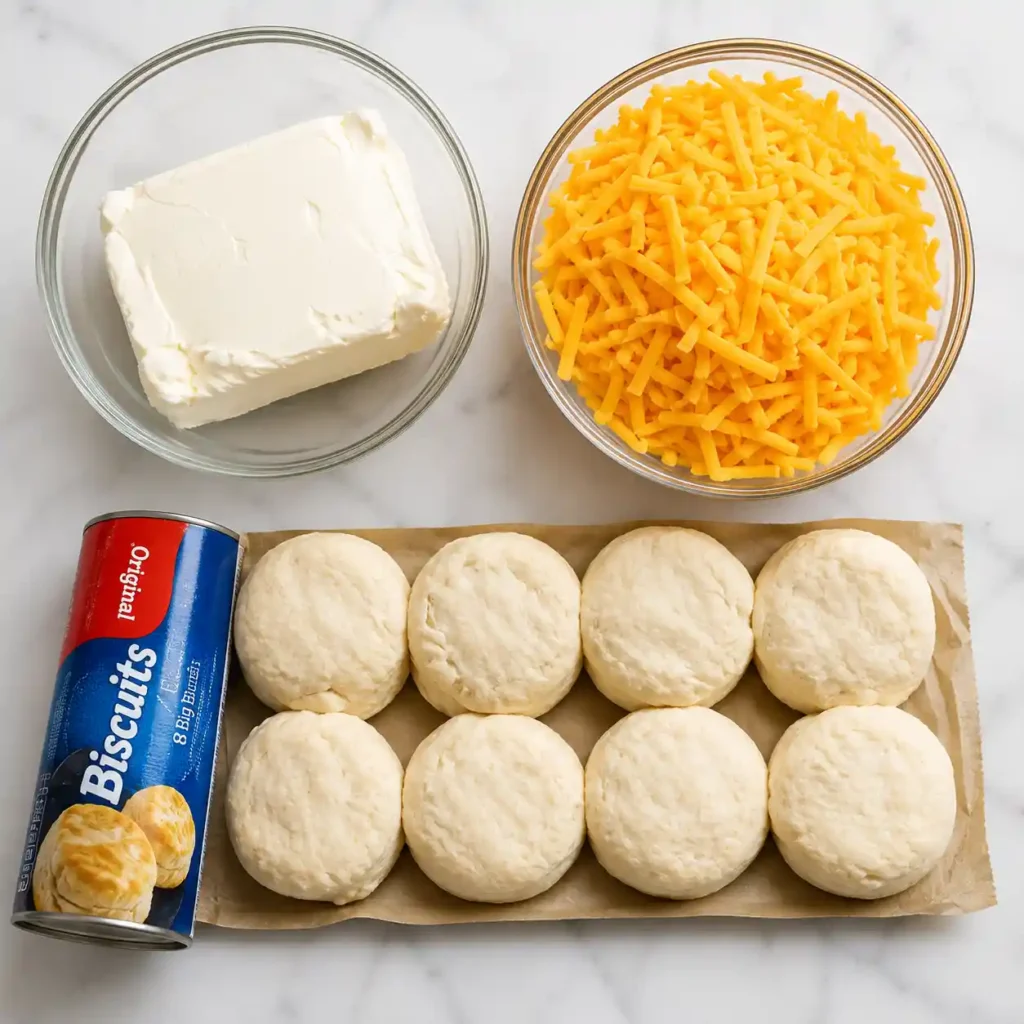
Ingredients Overview
- Cream cheese – Creates the rich, creamy center and adds a smooth texture to every bite.
- Refrigerated biscuit dough – Provides the soft, fluffy base and makes preparation incredibly convenient.
- Shredded cheddar cheese – Melts over the top to create a savory, golden-brown cheese layer.
Variations
- Pepper Jack Poppers – Replace the cheddar with pepper jack cheese for a creamy appetizer with a little kick.
- Garlic Herb Poppers – Stir garlic powder and dried Italian seasoning into the softened cream cheese.
- Bacon Cream Cheese Poppers – Add small pieces of cooked bacon underneath the cream cheese for a smoky, savory variation.
- Ham and Cheese Poppers – Tuck small pieces of cooked ham between the biscuit pieces before adding the cheese.
- Extra Cheesy Poppers – Use a combination of cheddar, mozzarella, or Monterey Jack for an extra-melty topping.
- Mild Family-Friendly Poppers – Use mild cheddar and avoid spicy seasonings for a simple version that kids will love.
How to Make Oven Baked 3-Ingredient Cream Cheese Poppers
1. Prepare the Oven and Baking Dish
Preheat your oven to 375°F (190°C).
Lightly grease a glass baking dish, approximately 9×13 inches, with cooking spray or a thin layer of butter.
Set the dish aside.
2. Soften the Cream Cheese
Allow the cream cheese to sit at room temperature for approximately 20–30 minutes so it becomes soft and easy to spread.
If you’re short on time, cut the cream cheese into smaller cubes to help it soften faster.
Keep it refrigerated until you’re ready to use it.
3. Prepare the Biscuit Dough
Open the refrigerated biscuit dough and separate the biscuits.
Cut each biscuit into 3 equal pieces, giving you approximately 24 smaller dough pieces.
Roll each piece gently between your hands to form a rough ball.
4. Arrange the Biscuit Pieces
Place the biscuit dough balls into the prepared baking dish.
Arrange them in a single, snug layer.
It’s perfectly fine if the pieces touch because they will puff up and bake together, creating a delicious pull-apart texture.
5. Add the Cream Cheese
Place the softened cream cheese in a medium bowl.
Stir it with a spoon or spatula until smooth.
Drop small spoonfuls of cream cheese evenly over the biscuit pieces.
Use the back of the spoon to gently spread and nudge the cream cheese across the dough so that most pieces receive some creamy filling.
6. Add the Cheddar Cheese
Sprinkle the shredded cheddar evenly over the entire baking dish.
Try to cover as much of the cream cheese and biscuit dough as possible.
The cheddar will melt during baking and create golden, bubbly tops.
7. Bake the Poppers
Place the baking dish on the middle rack of the preheated oven.
Bake for approximately 18–22 minutes, or until the biscuits are puffed and fully cooked and the cheese is melted and golden brown in spots.
If your oven runs hot, begin checking around the 16-minute mark.
8. Cool Slightly
Remove the baking dish from the oven and allow the poppers to cool for approximately 5 minutes.
This gives the melted cheese and cream cheese a chance to cool slightly and makes them safer and easier to eat.
9. Serve Warm
Place the hot glass baking dish on a dry trivet or folded towel.
Use a spatula or tongs to pull apart individual poppers, or allow everyone to grab one once they’re cool enough to handle.
Serve warm for the best gooey, cheesy texture.
Pro Tips and Cooking Secrets
Soften the cream cheese first. Room-temperature cream cheese spreads much more easily and helps ensure that the filling is distributed evenly over the biscuit pieces.
Don’t worry if the biscuit pieces touch. Keeping them snug in the baking dish allows them to puff together and creates the delicious pull-apart texture.
Watch the cheese carefully. Begin checking the poppers toward the end of the baking time. If the cheese is browning too quickly while the biscuits still need time, loosely cover the dish with foil.
Handle hot glass carefully. Always place the hot baking dish on a dry trivet or folded towel instead of a cold or wet surface to help prevent thermal shock and possible cracking.
Serving Suggestions
- Serve with warm marinara sauce for dipping.
- Pair with a ranch dipping sauce for an extra creamy appetizer.
- Add them to a game-day snack platter with wings, vegetables, and other finger foods.
- Serve alongside soup or chili as an easy cheesy bread-style side.
How to Store Oven Baked 3-Ingredient Cream Cheese Poppers
Allow leftover poppers to cool before storing.
Place them in an airtight container and refrigerate.
Enjoy the leftovers within a few days for the best quality.
To reheat, place the poppers in a warm oven until heated through. This helps restore some of the biscuit’s soft texture and keeps the cheese melty.
Avoid leaving the baked poppers at room temperature for more than 2 hours.
Can You Freeze Oven Baked 3-Ingredient Cream Cheese Poppers?
Yes, you can freeze the baked poppers, although they are best enjoyed fresh.
Allow them to cool completely before placing them in a freezer-safe container or bag.
Separate layers with parchment paper to prevent sticking.
Thaw them in the refrigerator and reheat thoroughly in the oven before serving.
Make-Ahead Tips
You can prepare the biscuit pieces and baking dish ahead of time, then add the cream cheese and cheddar shortly before baking.
For the best texture, bake them close to serving time.
Because these poppers are especially delicious when warm and gooey, they’re ideal for preparing shortly before guests arrive.
Oven Baked 3-Ingredient Cream Cheese Poppers FAQs
Can I use a different type of cheese?
Yes. Cheddar can be replaced with pepper jack, Monterey Jack, mozzarella, or another cheese that melts well.
Can I use reduced-fat cream cheese?
Yes. Reduced-fat cream cheese can be used, although the texture may be slightly less rich. Avoid fat-free cheese because it generally doesn’t melt as smoothly.
Can I add bacon?
Absolutely. Small pieces of cooked bacon can be tucked underneath or around the biscuit pieces before adding the cream cheese and cheddar.
Can I make these poppers spicy?
Yes. Use pepper jack cheese or add a pinch of cayenne, crushed red pepper flakes, or your favorite spicy seasoning to the cream cheese.
Why are my biscuit poppers not cooked in the center?
Make sure the biscuit pieces aren’t packed too tightly into multiple layers. They should be arranged in a single layer, and the oven should be fully preheated before baking.
How should I store leftover Oven Baked 3-Ingredient Cream Cheese Poppers?
Store them covered in an airtight container in the refrigerator. Reheat them in a warm oven until hot throughout for the best texture.

Oven Baked 3-Ingredient Cream Cheese Poppers

Equipment
- 9×13-inch glass baking dish
- medium bowl
- spoon or spatula
- cooking spray or butter
- tongs
Ingredients
- 1 8 oz block cream cheese, softened
- 1 16 oz can refrigerated biscuit dough (8 large biscuits)
- 1 cup shredded cheddar cheese (mild or sharp)
Instructions
- Preheat your oven to 375°F (190°C). Lightly grease a glass baking dish (about 9×13 inches) with cooking spray or a thin swipe of butter so the poppers don’t stick.
- Set the cream cheese out on the counter for 20–30 minutes so it softens and is easier to mix and spread. If you’re short on time, cut it into cubes to help it soften faster.
- While the oven heats, open the can of refrigerated biscuit dough. Separate the biscuits and then cut each biscuit into 3 equal pieces so you end up with 24 small dough pieces. Roll each piece into a rough ball with your hands.
- Arrange the biscuit dough balls in the prepared glass baking dish in a single, snug layer. They can touch; they’ll puff up and bake together like pull-apart bread.
- In a medium bowl, stir the softened cream cheese with a spoon or spatula until smooth. Drop small spoonfuls of cream cheese evenly over the tops of the biscuit pieces, using the back of the spoon to gently spread and nudge the cream cheese around so most pieces get some on top.
- Sprinkle the shredded cheddar cheese evenly over the entire pan, covering the cream cheese and biscuit pieces as much as possible. This is what will give you those melty, golden brown tops.
- Place the baking dish on the middle rack of the preheated oven and bake for 18–22 minutes, or until the biscuits are puffed and cooked through and the cheese on top is melted and deep golden brown in spots. If your oven runs hot, start checking around 16 minutes.
- Remove the pan from the oven and let the poppers cool for about 5 minutes. This helps the cheese set slightly and keeps anyone from burning their mouth on the hot cream cheese.
- Set the warm glass baking dish on a trivet or folded towel. Let everyone reach in with a spatula or tongs to pull out the poppers, or place the dish in the center of the table and let folks grab one by hand once they’re cool enough to handle. Serve warm and enjoy the gooey centers and golden tops.